If you’re in the market for a Hyperice Hypervolt Massage Gun, you may be curiuos what it all comes with and what features it includes. Or, maybe you’ve just purchased a Hypervolt and still had some questions about how to use it. Below we explain a step-by-step unboxing of this massage gun and provide a brief overview of the various features involved in using the gun.
The Unboxing
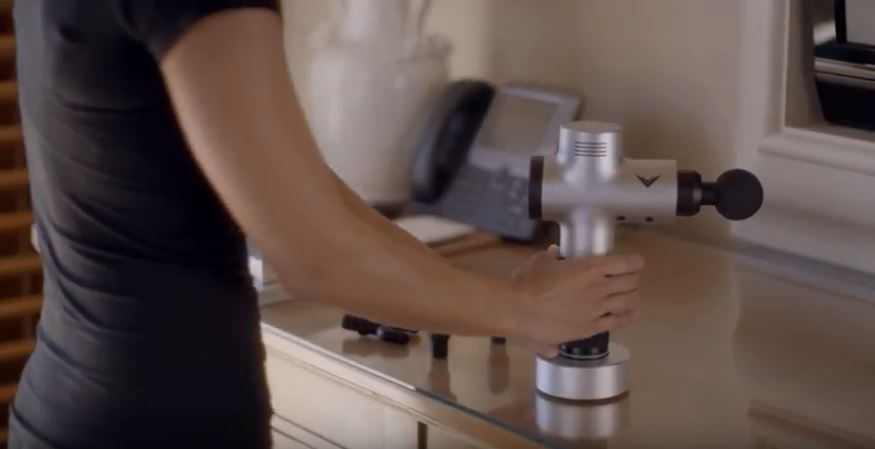
Today I’m going to show you what to do when you get your Hypervolt and ways to use the product. When you unbox the product, you’ll see that everything comes included in the box. After you take out the catalogs, you’ll have the body of the Hypervolt, the battery, the four attachment heads and the charger. When you take out the body of the Hypervolt, you’ll see that it doesn’t have a battery attached to it, so the battery is removable, and you’ll have to attach the battery. When you take the battery, the first thing you’ll want to do is to make sure you line the battery up correctly. So, you’ll see a black release latch, and then you’ll look on the battery and you’ll see a little release tab – you want to line those two up when you insert the battery. You’ll also see a little arrow that says front, which means that you want that facing towards the front of the unit.
The easiest way is to take the button and the latch and line them up. Once you line them up, you’re just going to basically push until you hear a click. That means the battery is completely in. We’ve had some people that have said that they’re losing a connection. It’s because they’re probably not putting it in all the way. You really want to get it all the way, and push it until you lock it in. So, once the product is locked in, you’ll see no space between the rubber grip and the body of the Hyper volt.
How to Start the Hypervolt
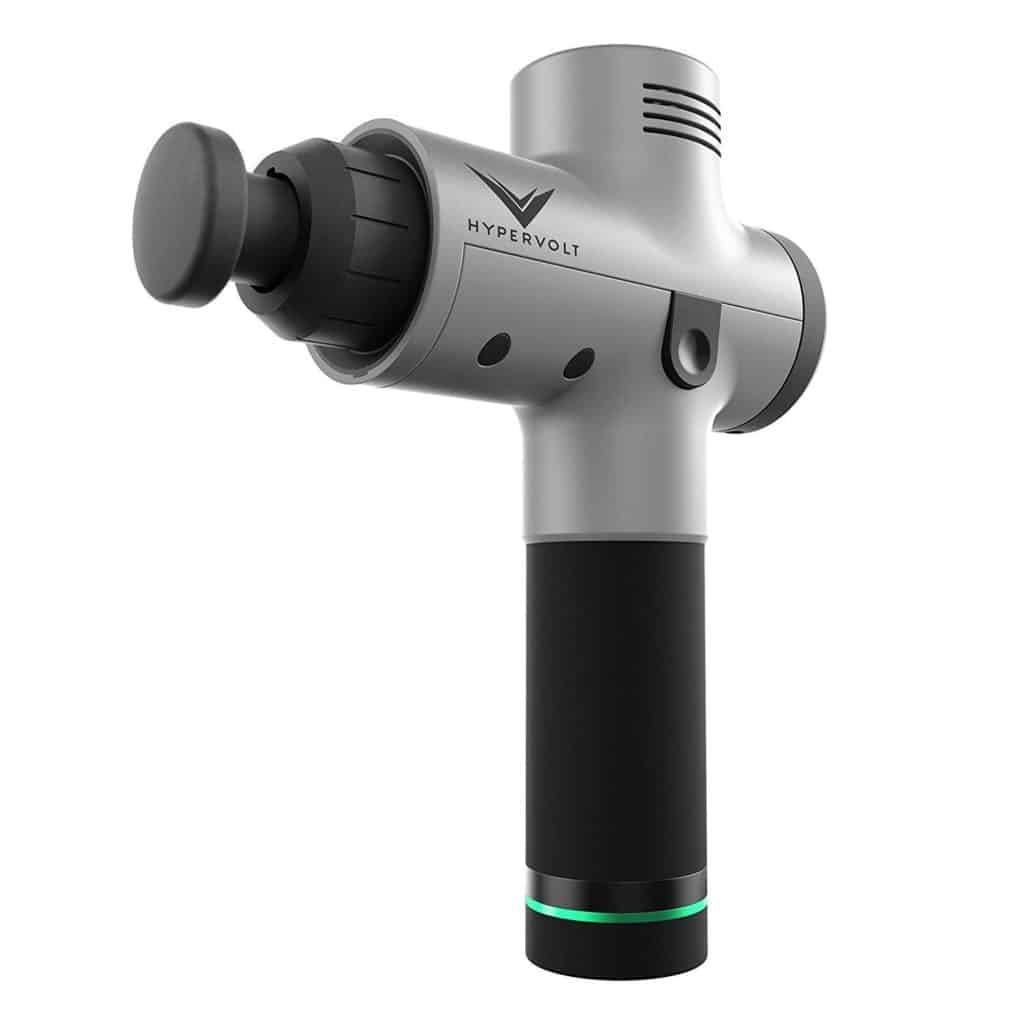
To turn on the Hypervolt, you’ll see that there’s an on/off switch on the bottom. When you turn this on, you’ll see a green beam come in, which is the battery indicator. That is going to indicate how much battery life, which also matches the battery indicator lights on the back. Dark green means the product is fully charged. As the battery charge goes down over it’s three hour life, you’ll see this go to a lighter green, a yellow and then eventually to an orange and a red.
What Attachments are Included?
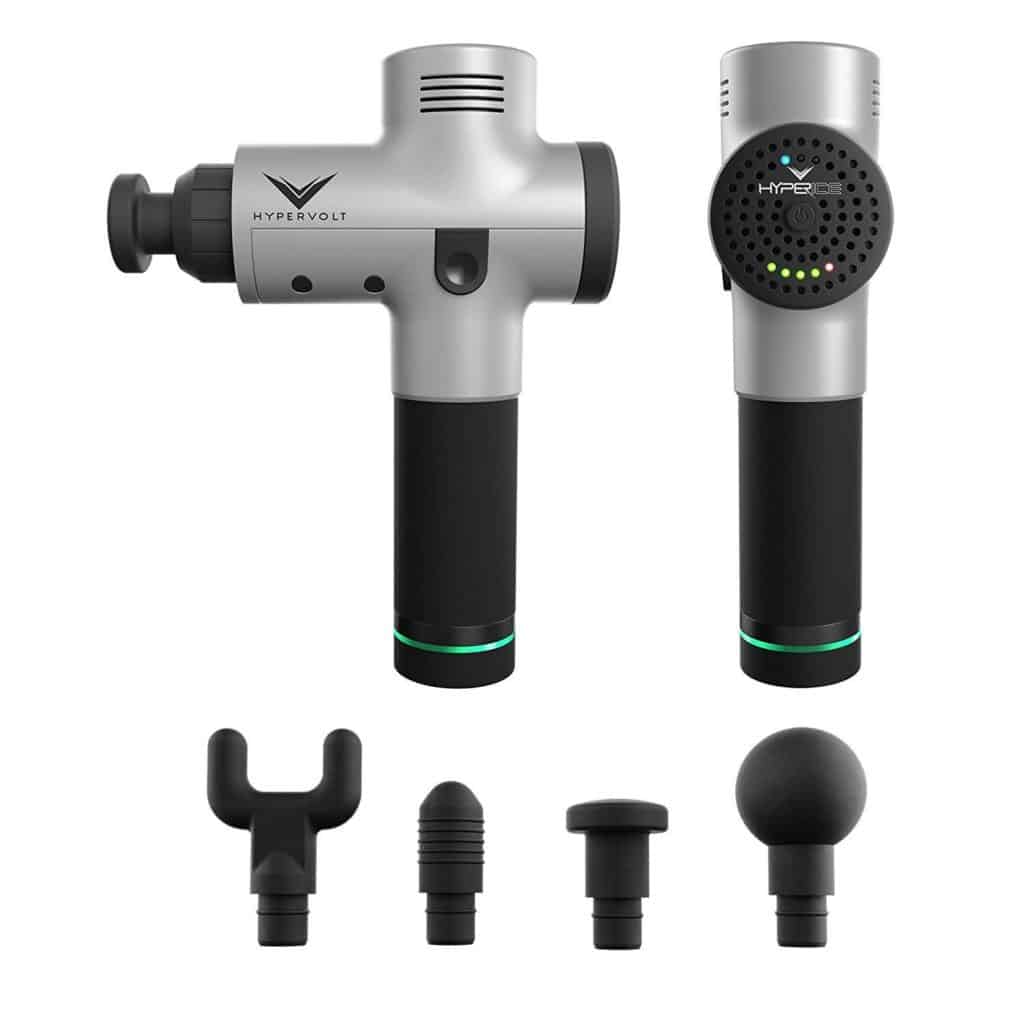
Ball
So now that you have the battery attached to the unit and it’s powered on, you can insert the head attachment. You’ll likely want to start with the ball head. This is the softest one, and it has a different feel than the other three, but it’s a good place to start. You’ll be able to see that there is a, sort of like a rubber seal around this end. You’ll basically take that seal and push it into the product. As you push in,you’ll need to give it a quarter turn. As you do that, you’re going feel the part hit the back wall. That means the head is completely attached.
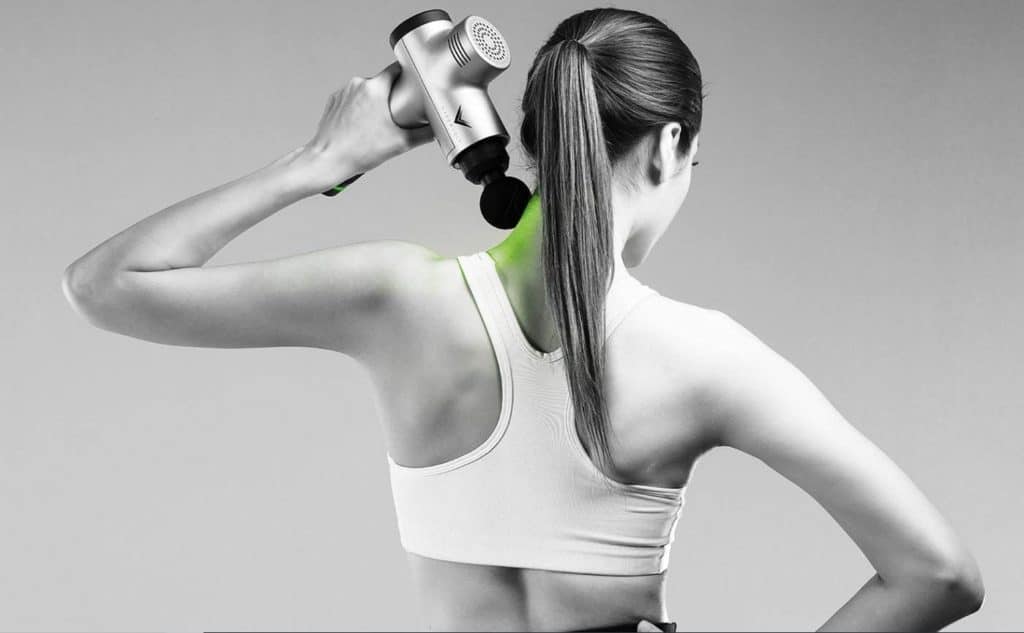
If you look at the back, you’ll see your speed controller. Just like the Vyper 2.0. If you have the Vyper 2.0, you’ll see that when you press this one time, you are putting it on the first speed. You’ll see the head start to percuss. You’re going to want to feel it on your body and see how it feels to give you an idea. This is about 2,000 percussions a minute. If that gives you an idea, this is kind of a lower setting. This is a really good setting for the upper extremities or the neck. It’s great for when you don’t want to go so aggressive that it’s going to shake your head. The first speed is about 2,000 percussions a minute.
When you press it to level two, you’ll actually see the head go to 2,600 percussions a minute. This setting is going to be good for a little bit of a denser area. For example, when you’re getting towards the legs and the calves, level two is a good speed to go on.
If you want to go to the third speed, you’ll just hit it again. The third speed is going to be for even denser areas such as your hips, your glutes, your piriformis, or quads. These are areas where the tissue and muscles are a lot more dense. In these areas, having a little bit of a higher speed delivers a higher amplitude of force, which is more effective in loosening up those areas. The third speed percusses at about 3,200 percussions a minute. This is also as loud as the product will get.
Now that you’ve used the ball attachment, let’s change heads and describe how to use some of the other head attachments for other applications of the body. When you remove one of the heads, you’ll want to gently pull out and give kind of a quarter turn, and it’ll come right out. If you have this head inserted and you try to pull straight out, it’ll be a little bit tougher and you might hear a little popping sound. It should be really simple so we recommend givnigt he slight turn.
Flat
Next, lets go to the flat head. This is going to have a flat surface. It almost looks like a little disk. You’ll insert the head the exact same way on all the applicators. So, you are going to just push in and give about a quarter eighth of a turn. The flat head is really good for denser parts of the body such as quads or glutes. A lot of people like it on their pecs. This is a really good multipurpose attachment. You can use it on almost any body part. The flat surface gives a lot of direct contact, so you’ll see and feel a little bit of a deeper feel, as opposed to a ball, which is kind of curved. The flat head attachment can kind of be used anywhere and is the most versatile head that comes with the Hypervolt.
Bullet
Now we’re going move to the bullet head, which is really great for trigger points and targeting more specific areas. Remove and attach the same way as the others. The bullet head kind of comes to a point. It’s has the same kind of stiffness as the flat head. As mentioned, the bullet head is really good for targeting specific areas such as trigger points or working on smaller areas, like the feet. People also like to use it on their scap. It’s up to the user to figure out their body and how to best get into their tight spots. To get these areas, this is going to be the most accurate pinpointed head. If you have a specific area you’re working and you’re really trying to get into a tight area, the bullet head is going be the one you want to go with.
Fork
Next is the fork attachment. This is actually the only head that you put in slightly different. You’ll have to line it up because you don’t want it to rotate. If you’ll look on the piston, you can actually see a little keyhole. If you look on the fork head, you’ll see the little key notch right on the top. Once lined up, you’ll push it in and it won’t be able to rotate.
The fork is going to have a much different feel because it has these two prongs that actually go into the body. A lot of people like to use it for the traps where they’ll put it right on the trap and use the edges to get into the tissue. Another common area is around the Achilles tendon. You never want to actually do it on the tendon itself, but the tissue surrounding the tendon. With the fork, you can put the Achilles tendon right in between it, and the attachment will not put the pressure on the tendon itself, but get all the surrounding tissue.
This attachment is also effective on the ankle, on the foot, or anywhere that’s tight. Some people actually like it on the larger parts of the body such as, the quads or the calves. You can actually kind of shift the force between prong to prong. It’s really kind of up to you, as the user, to learn your body and determine which product and which heads are most effective for whatever your needs are.
How Powerful is the Hypervolt?
The main objective in creating Hypervolt was to create a powerful device that would not generate a lot of noise. So, to do that, Hyperice developed Quiet Glide technology.
Quiet Glide technology is a symphony of all the moving components that deliver a powerful stroke without generating noise, without generating heat, and is comfortable to use in the hand.
Now we’ll discuss how powerful the Hypervolt is, even on the lower speeds. When you put on speed number one, it is percussing at 2,000 percussions a minute. When you push into the tissues, you’ll see that it’s not actually slowing down. It’s able to maintain the percussive rhythm without being disrupted. If you push in even a little bit harder, you’ll see you won’t be slowing it down. The available torque in the motor is what allows this to overcome the external force, which basically keeps an even percussion.
As you go to the higher speed, on level two, you can see now you’re at 2600 percussions a minute. As you push into a little bit deeper part of the tissue, you can see that, even though you’re pushing in, you’re not breaking the percussion cycle at all. It’s still going at about 2600 percussions a minute, and you’ll definitely be feeling the force deeper into the tissue. The motor is not slowing down at all, and it’s not slowing down the percussion, and you should be getting a nice, even wave of percussion.
What is Quiet Glide Technology?
Another key feature to the Hypervolt is the Quiet Glide technology, as mentioned briefly above. This allows the product to be very powerful without generating noise. This allows the user to take the product anywhere with minimal noise. You could use this in front of your TV. You could use it at your desk at work or out in public, and it doesn’t generate any noise. It’s not disruptive to the therapeutic process. The Quiet Glide technology is the key feature of the Hypervolt which allows for power without generating noise.
How to Charge the Hypervolt
Next we’ll discuss how to charge the Hypervolt. Once you have the unit turned off, you’ll need to get the charger. There’s an AC cable that connects the charger to the power supply – just plug that into the wall. Then, take the other end of the charger and plug it into the bottom of the Hypervolt. When you plug it in, you’ll actually see these green lights cycle through, and they’ll be flashing, and it will be pulsing. One thing that is really important to remember is the Hypervolt only charges with the Hypervolt charger. The charger that comes with the product is the only charger that will work. Do not use the Vyper or Hypersphere, or Venom charger, which is good for all other Hyperice products, but in this case, the Hypervolt charger is different and it’s the only one that works with the product.
How to Detach the Battery
Now that you’re finished, it is smart to detach the battery from the Hypervolt. You dont NEED to do this, you can charge it with the battery in. However, to remove it, it’s just a simple press on the battery release button and gently pull the battery out.